In this articleTap to open
You pick a nice photo, hit upload, and the page tells you it's too big. So you shrink it, it comes out blurry, and now you're not sure which is worse: a file that won't upload or a picture that looks like it was taken in 2003.
Most of us have been stuck in that loop. The annoying part is that it usually isn't a quality problem at all. It's an order-of-operations problem. Once you know what makes an image heavy in the first place, you can make it a lot smaller and keep it sharp.
Why images get so big
Modern phones take huge pictures. That's great if you want to print a poster. It's overkill for a blog post, a profile photo or an online form.
Here's the part most people miss. When you drop a 4000-pixel photo into an 800-pixel column, the browser still downloads every one of those extra pixels and then shrinks the picture on screen. Your visitor pays for pixels they never see, and your page loads slower for it.
That's why image size matters beyond upload limits. Images are usually the heaviest thing on a web page, slow pages lose readers, and Google pays attention to how a page feels to use.
Compression, without the jargon
Compression just means storing the same picture in less space. There are two flavors, and the difference explains almost everything about quality.
Lossless
- Shrinks the file without throwing anything away
- Picture looks identical afterwards
- Smaller savings, but zero risk
- Good for logos, icons and screenshots
Lossy
- Discards small details your eyes rarely notice
- Much bigger savings
- Too much of it causes blur and blocky patches
- Good for photos
For most photos you'll want lossy compression, just not too much of it. That's all "compress without losing quality" really means: the quality drops a tiny bit, but not enough for anyone to see.
Fix the format before you touch the slider
Here's a mistake that's probably behind half the oversized images on the internet: saving a photograph as a PNG.
PNG is built for sharp graphics, logos, and screenshots with text. It's not built for photos. Save a photo as PNG and it can end up several times heavier than the same photo saved as JPG, with no visible benefit.
| Format | Great for photos | Transparent background | Opens in every app |
|---|---|---|---|
| JPG | ✓ | ✗ | ✓ |
| PNG | ✗ | ✓ | ✓ |
| WebP | ✓ | ✓ | ✗ |
- Often smaller than JPG and PNG at similar quality
- Supports transparency like PNG
- Works in all modern browsers
- Some older apps and editors can't open it
- Some upload forms only accept JPG or PNG
So the rule of thumb is simple. Photos go in JPG. Logos, icons and anything transparent go in PNG. If you run a website and want the smallest files, WebP is worth using.
Resize first, then compress
This is the step people skip, and it's the one that matters most.
Sometimes resizing alone cuts a file in half. After that, compression only has to trim what's left, so you can use a gentler setting and keep more detail.
Free tool
Image Resizer
Resize an image by exact pixels or percentage, with the aspect ratio locked if you want.
The routine that works
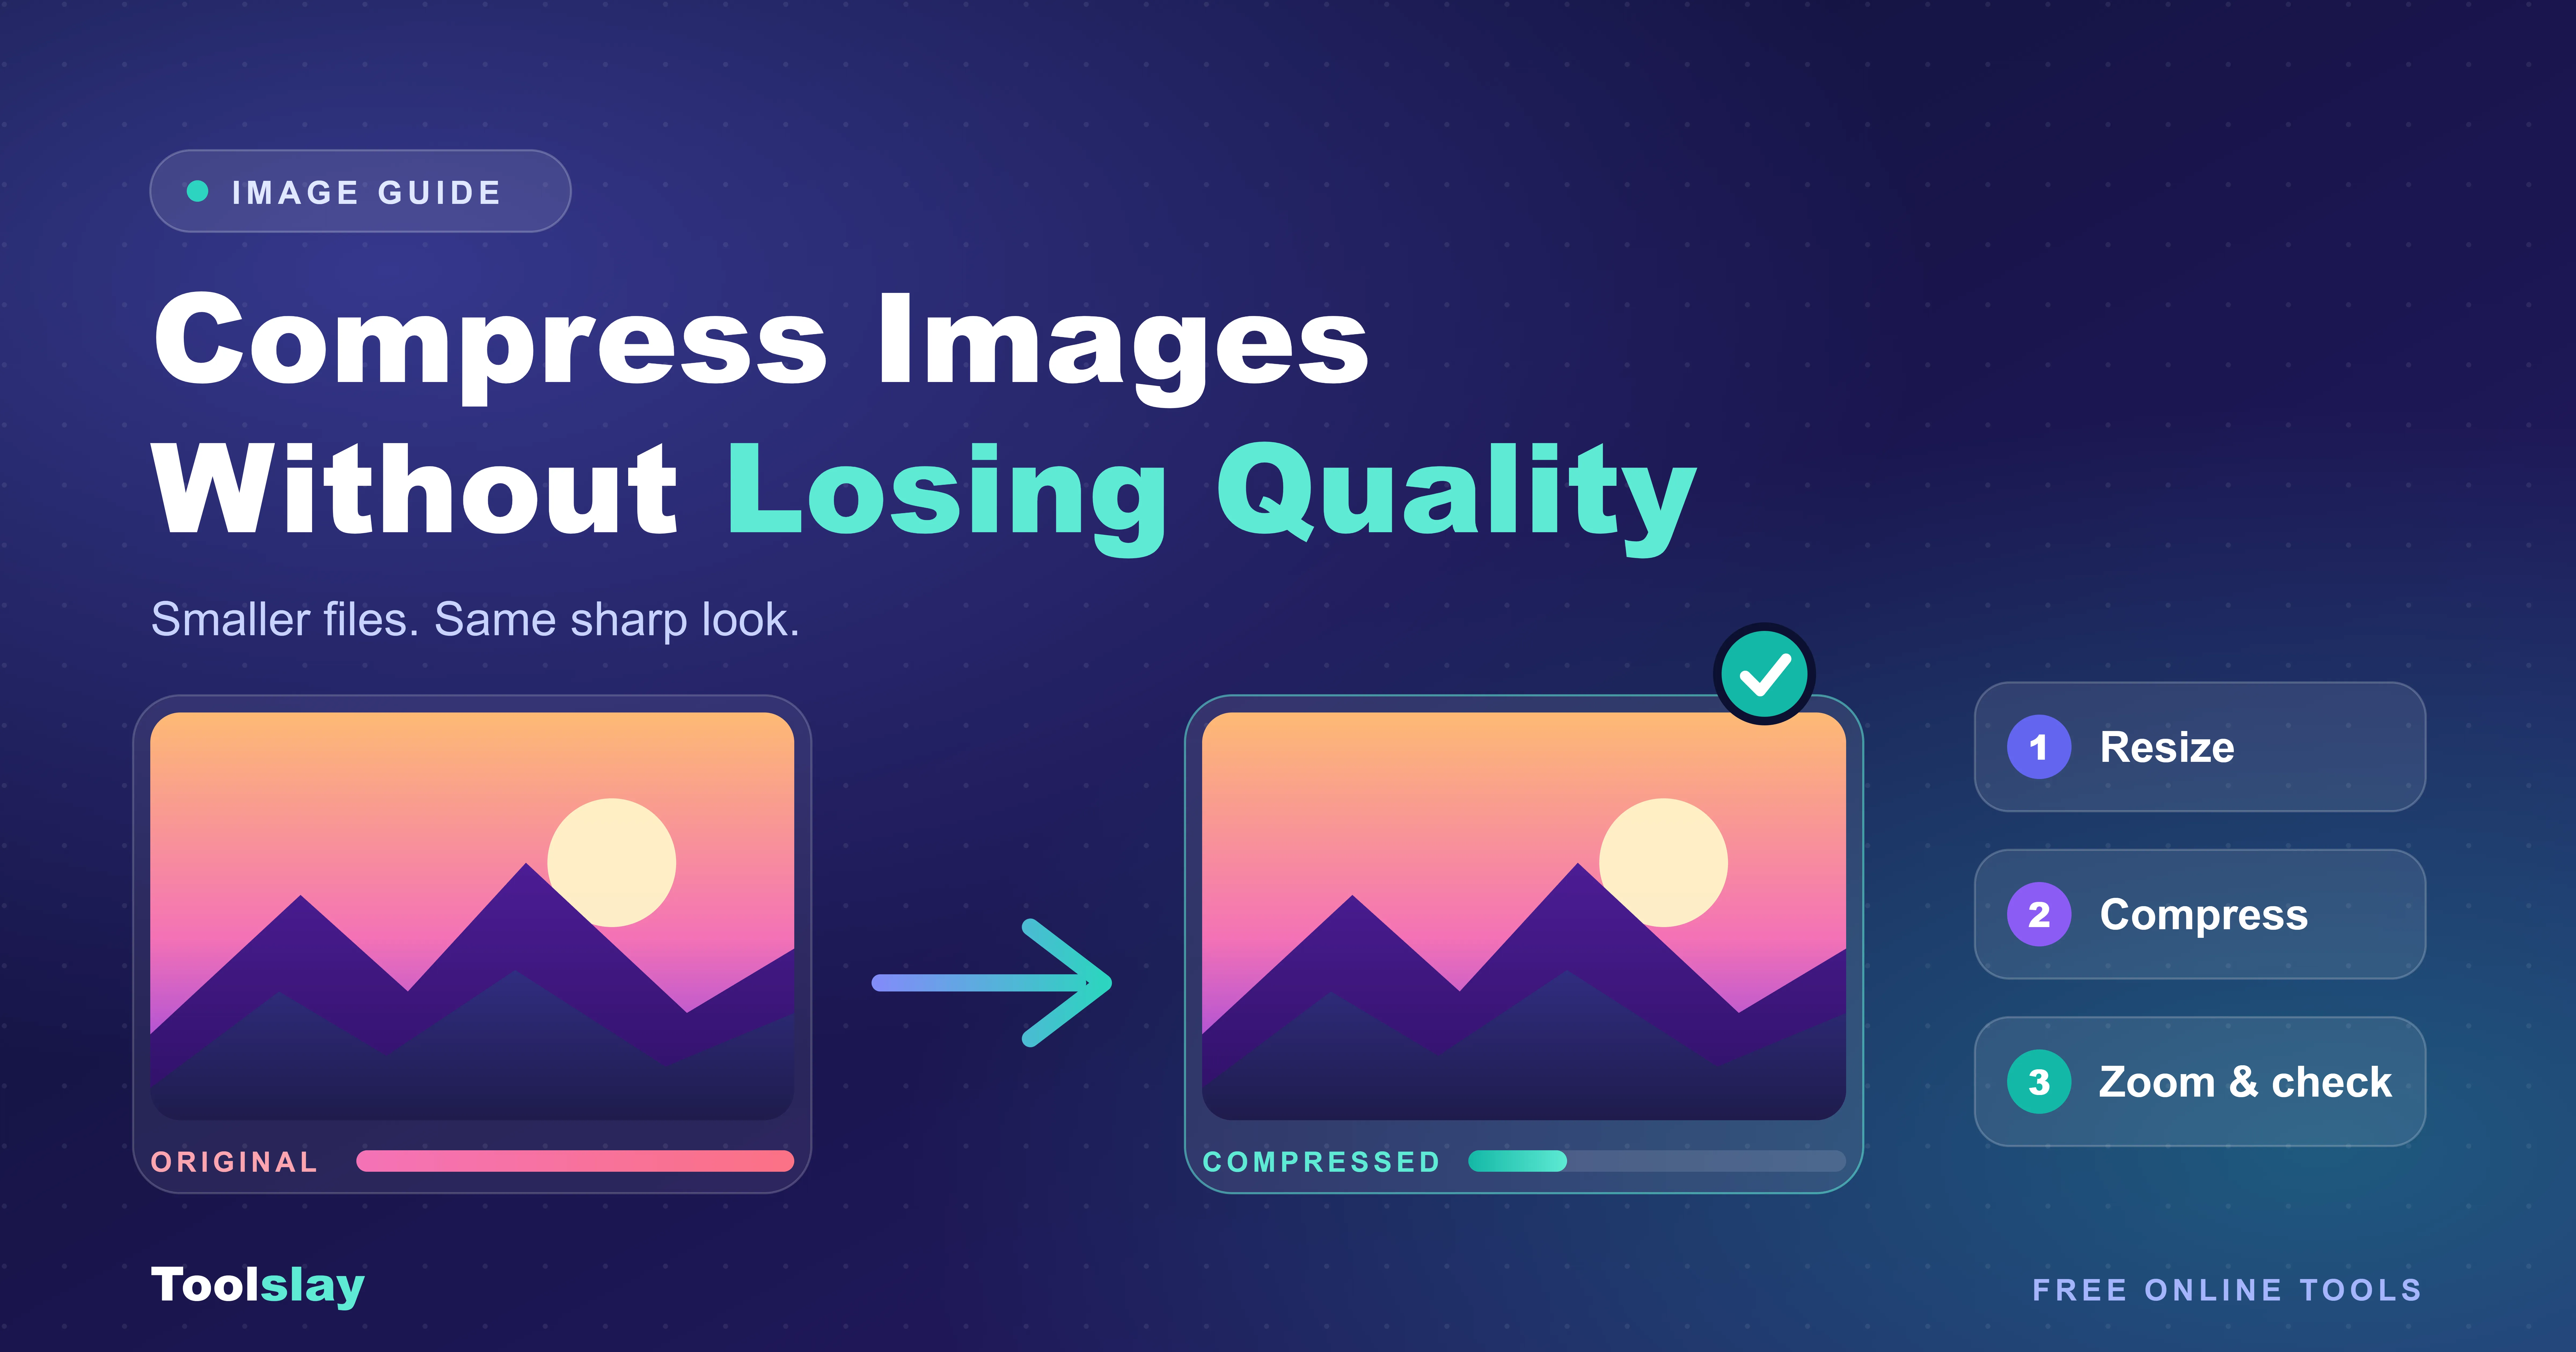
Here's the whole thing, start to finish.
- Keep your original. Copy it somewhere safe. Lossy compression can't be undone.
- Resize it to the size you'll actually use, using the Image Resizer above.
- Pick the right format. JPG or WebP for photos, PNG for graphics and transparency.
- Compress it. Use the Image Compressor below and start around 80% quality.
- Zoom in and check. Look at text, edges and faces. If anything looks fuzzy, go back to the original and raise the quality a little.
Free tool
Image Compressor
Compress images with lossy or lossless settings and shrink a whole batch in one go.
If you have a lot of pictures to handle, the bulk resizer saves a lot of clicking.
Free tool
Bulk Image Resizer
Resize many images at once and download them together as a ZIP file.
Settings to start with
These aren't rules, just good starting points. Every image behaves a little differently, so adjust by eye.
| What you're making | Format | Quality | Width |
|---|---|---|---|
| Blog photo | JPG or WebP | 75-85% | 800-1200 px |
| Website banner | JPG or WebP | 70-80% | 1600-1920 px |
| Logo or icon | PNG or WebP | Lossless | As small as it can be |
| Email attachment | JPG | 70-80% | 1200 px or less |
The mistakes that ruin good images
A few more things trip people up again and again.
Pushing the quality too low. Somewhere below 60%, the damage usually becomes visible. A file that's slightly larger but looks clean beats a tiny file that looks rough.
Ignoring the file name. IMG_4471.jpg tells search engines nothing. Something like compress-image-example.jpg gives them a clue about what's in the picture.
Skipping alt text. It won't change your file size, but it helps people using screen readers and gives search engines more context. One plain sentence is enough.
A few habits for website owners
If you run a blog or a store, make compression part of your routine. Compress before you upload, every time. It's far easier than cleaning up a slow site later.
Turn on lazy loading, so images lower on the page only load when someone scrolls to them. Set a width and height on your images so the layout doesn't jump around while the page loads. And run a page through Google PageSpeed Insights once in a while to see what your images are really costing you.
What to try next
Once your images are the right size, these are the tools people usually reach for next.
Common questions
Can you really compress an image without losing quality?
Pretty much, yes. Lossless compression keeps quality identical, and moderate lossy compression removes detail most people won't notice. Trouble starts when the setting goes too far.
What quality setting should I use for JPG?
Start at 80%, compare the result with the original, and adjust. Between 70% and 85% works for most photos.
Which is better: JPG, PNG or WebP?
It depends on the image. JPG is best for photos, PNG for sharp graphics or transparency, and WebP when you want the smallest file for the web.
How much smaller can an image get?
It depends on the photo, its dimensions and its format. A big phone photo can often shrink a lot once it's resized and compressed, but the exact saving varies from image to image.
Does compressing images help SEO?
Indirectly. Smaller images help pages load faster, and page experience is one of many things Google considers. It's not a magic ranking trick, but it helps.
Why does my image look blurry after compressing?
Usually the quality was set too low, or the file was compressed more than once. Go back to the original and try a higher setting.
Should I resize or compress first?
Resize first, because it removes the most data. Then compress to trim what's left.
Can I compress more than one image at once?
Yes. The Image Compressor can shrink a whole batch in one go, and the Bulk Image Resizer handles resizing many pictures together.
The short version
Heavy images are rarely a quality problem. They're usually a size problem and a format problem. Pick the right format, resize to the size you actually need, compress at a moderate setting, and zoom in to check.
Next time an upload gets rejected, try that order instead of dragging the quality slider to the floor.
Try it now
Image Compressor
Compress images with lossy or lossless settings and shrink a whole batch in one go.